|
|
| 400 Small Block Build & Swap - Page 2 |

|
|
|


|
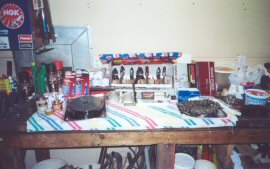
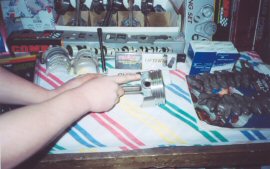
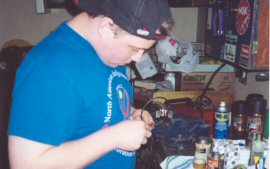
Checking out the new parts that have arrived ...
I decide to take the heads another guy (Randy) I know who was recommended to me. I went with this guy cause he was half the price of what Dan Klim quoted me. This was an expensive lesson I learnt later on in 2005, when I broke a rocker stud. I should of spent the money and had Dan Klim do the work!!, would of been cheaper in the long run. 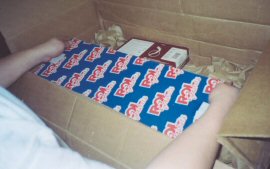 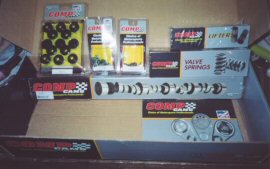 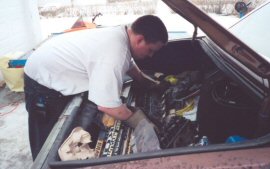
|
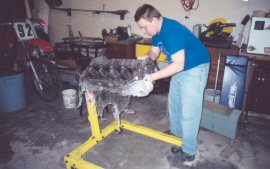
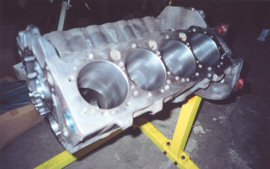
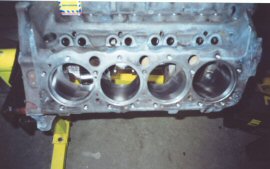
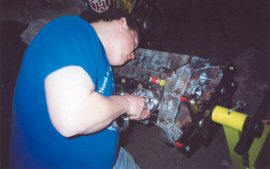
Get the block bolted back onto the stand and unwrap.
|
|
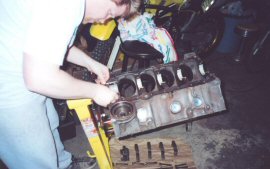
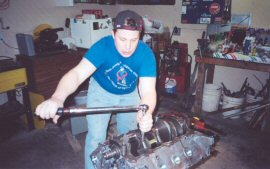
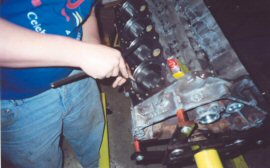
Getting ready to assemble everything, but first I'm told it's best to chase thru all the holes to make sure they are clean.
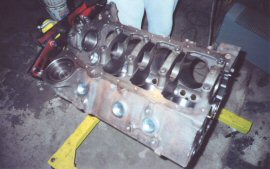
As I'm chasing one of the head holes by 8 cyl, the chase stops. Not only does it stops, but I ended up breaking it in the block trying to retrieve it. 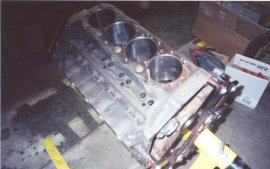  |
|
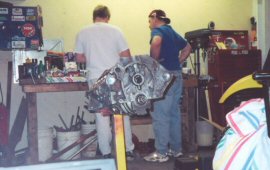
At this point, I have lost it. I've spent GOD-KNOWS how much on machine work, and now I have a chase broken in a head bolt.
I called up Dan Klim, who did the machining and explained what happened. Dan very quickly chuckled and told me to bring the block over to his place. Over the course of a few hours, 5 drill bits and 2 screw drivers later ... he removed what was left of the chase. Using a Heli-Coil to fix up the threads, and I was on my way back to Selkirk. THANK YOU VERY MUCH AGAIN DAN !!! |
Another picture of all the parts, bearings, pistons ... everything.
|
Glenn cleans the oil journals on the crank and block. Afterwards installs part of the rear main seal.
  |
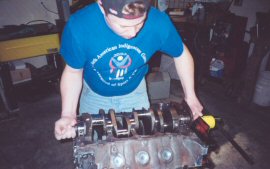
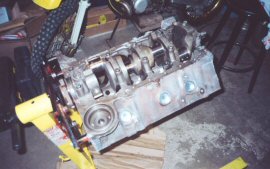
Let the assembly begin. Installing and torqueing down the crank.
|
Glenn takes a moment to show me how I have to file down the rings, to obtain the proper clearence when they are on the pistons.
|
Here I am placing the ring in the cylinder, pushing it in flush with the piston and then measuring it.
|
|
|
|
 Back to 400 Small Block Build & Swap Page Back to 400 Small Block Build & Swap Page |
|---|
| Main 'Project MEANGREEN' Page |
|---|
| Back to Photo Gallery - 2003 |
|---|