|
|
|
LED Headlight Install & Wiring
- Page 1 - |

|
|
|


|
The original LED Headlights used were sent to me as a gift by my GOOD friend Doug Towe from Laighla Nova.
Within this section, I will show HOW I installed these lights on my 73 Nova, how and what I did to wire them up. I wanted to run the LEDs part of the headlights as a 'Daytime' Running light and have them on with the igntion of the car, however I wanted them to turn off when I turned on the headlights (low beams). The second part of this guide, is how I wired my headlights up to run from the battery power directly instead of through the factory wiring, and through the fuse box. Running them from the battery has been proven to provide more power to the lights, thus having brighter lights. There are various articles punblished out there on 'How-To' accomplish this.
|
|
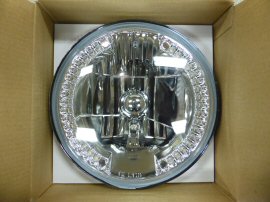
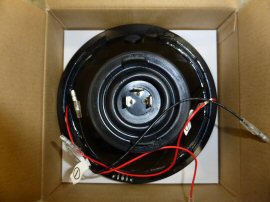
A set of United Pacific LED Headlights with White LEDs #31379 are being installed.
These lights can be purchased from a number of retailers, including 'SummitRacing.com'. 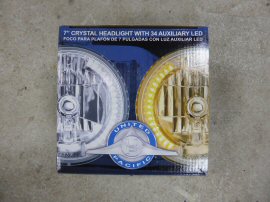 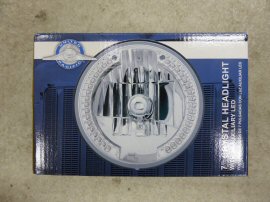 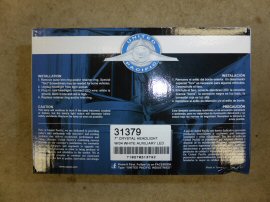
|
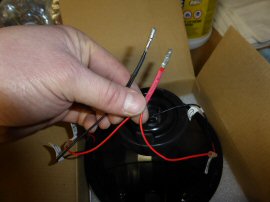
Before we get started, the LEDs on the sides of the headlight lenses are wired up seperately. I ended up cutting off the original connectors, twisting the wires together and crimped on a new connector.
|
|
It's time to remove the old 6024 headlights from the car.
First by removing the outside headlight bezel (3 screws), then unscrewing the headlight ring (another 3 screws). Note: The ring will still be attached by the headlight adjusting spring. 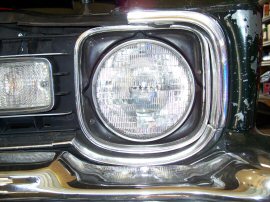 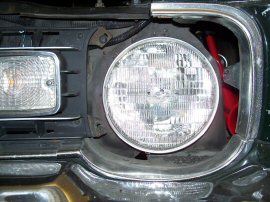 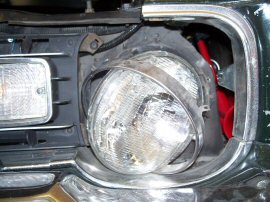
|
|
Because of the length of the housing which sticks out the back of the LED headlight through the headlight bucket, you will need to clearance that headlight hole on the radiator cradle.
I suggest leaving the headlight bucket attached to the radiator cradle for sizing purposes, as that inside hole will need to be widen to the same as the headlight bucket. Note: Now would be a good time to find a pair of safety glasses AND put them on. Using a power drill and a small drill bit, I drilled out some holes to remove material, before switching to the dremel to smoothen and round out to achive the oversizing needed. 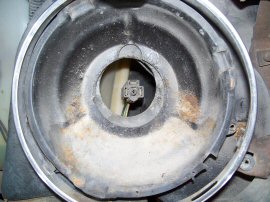 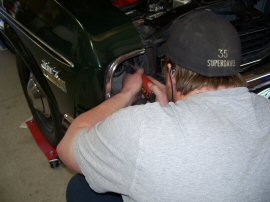 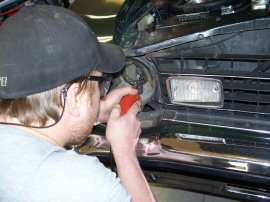
|
|
After widening the radiator cradle hole to accommodate the back of headlight lense, the same thing will need to be done on the drivers side.
Be sure to open up the relief on the top of the hole on the radiator cradle as well to allow wires from the LEDs to pass through for wiring later on. Afterwards a quick vacuum and tidying up may be in order to avoid the metal residue from scratching or marking up your car, but do NOT put the dremel away just yet. Make sure the headlights will fit through. 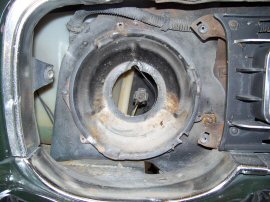 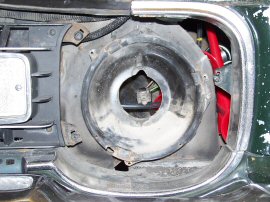 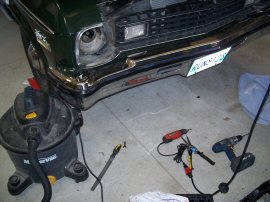
|
|
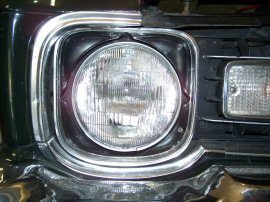
HERE IS THE TRICKY PART!! - The LED Headlight lenses are thicker then the regular H6024 headlights and the headlight ring will require a longer screw to screw on the headlight ring to hold the headlights in place.
I used some extra interior 1/4 in. sheet metal screws for this task, I had laying around. These worked great for me, as I have another set of headlight buckets and wasn't worried about ruining the threads on the buckets currently being used. With the LED headlights fitting through the headlight bucket and rad cradle, you can now securely install them. Don't forget to pass the LEDs wires through the radiator cradle to allow you to wire them up next. With the lenses installed, they should line up nice and STRAIGHT, you can now put back on the headlight bezels. 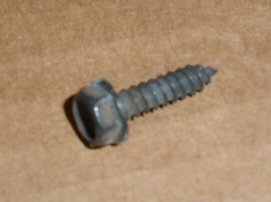 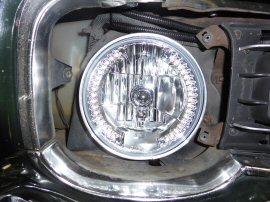 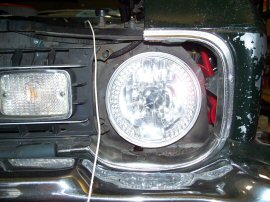
|
|
I quickly run the extended wires to the battery to test each one, as well to get a look at what my finish result will look like.
I LOVE IT !! 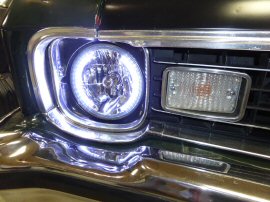  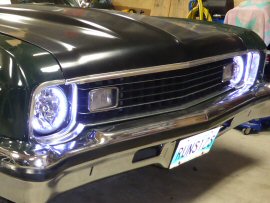
|
| THAT WAS THE EASY PART ... now comes the wiring which is continued on PAGE 2 |
|
|
|
 Main 'Project MEANGREEN' Page Main 'Project MEANGREEN' Page |
|---|
| Back to Photo Gallery - 2016 |
|---|
| Main Page |
|---|