|
|
|
Holley Sniper EFI Install
- Page 1 - |

|
|
|


|
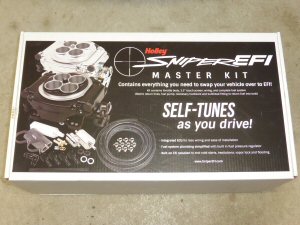
Within this section, I will show HOW I installed the Holley Sniper EFI system on my 73 Nova Custom running a 406ci SBC. We installed the 'Master Kit' along with Holley Dual Sync Distributor which is sold seperately, but in my opinion is WELL worth the money.
Would like to thank a moment to thank PLATINUM PERFORMANCE, who sponsored the Holley Sniper EFI Master Kit for this project. |
The Master Kit includes EVERYTHING you need to fully upgrade your setup with to EFI. Kit includes of course, Installation Manual, Wiring Harness, Pressurized Fuel Line, AN fittings.
   |
|
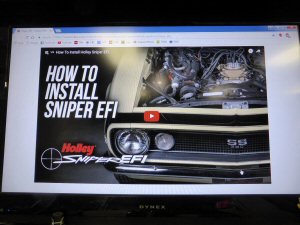
Holley has some GREAT 'How-To' installation videos online on YouTube for the Holley Sniper EFI Master Kit, as well as the installation & setup of the Holley Dual Sync Distributor with Sniper EFI.
|
|
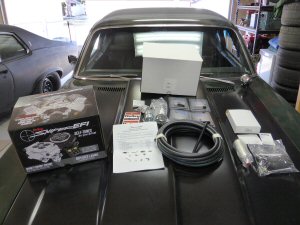
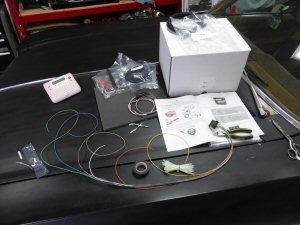
Opening up the Master Kit, and you'll have 2 other boxes inside. One is the Sniper Kit itself and the other is the Fuel System Kit.
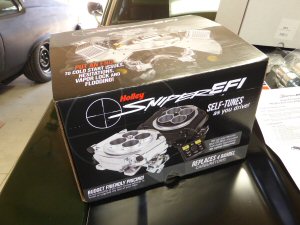
We open up the Sniper box first, pull out the 'Quickstart Manual' and give it a read. VERY IMPORTANT to read through the documentation. I think I read them 3 or 4 times alone before starting. I've come across alot of people on the Holley forum and alot of posts on the 'Holley Sniper EFI' Facebook group who have had problems because they thought they knew of a better way or tried skipping steps. If you follow these instructions step by step, as they are written ... you should have no problems or issues.  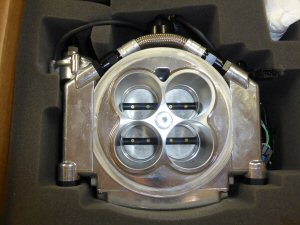 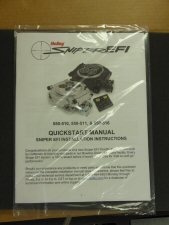 |
| The 'Holley Sniper EFI' forum can be found at https://forums.holley.com/forumdisplay.php?82-Sniper-EFI |
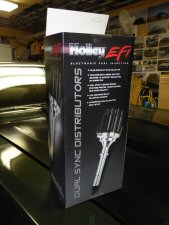
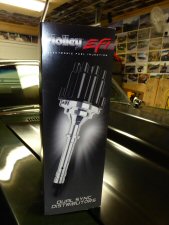
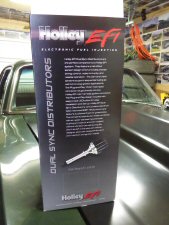
After reading through the Manuals of the Sniper EFI, I went out and purchased the Holley Dual Sync Distributor (Part#565-100). The Dual Sync distributor plugs right into the Sniper EFI unit and will allow the ECU to control ignition timing. The distributor was just under $600 (CDN) with taxes/shipping.
    |
|
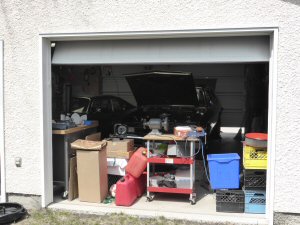
First things first, disconnect the battery. Next we disconnect the linkage, fuel line, any vacuum lines and unhook the carburetor.
Gonna replace my cowl while I'm at it, as I had drilled a hole and installed a AutoMeter Mechanical Fuel Pressure Gauge on it. I have a spare cowl to replace it. 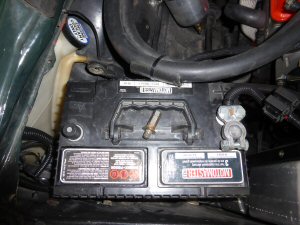 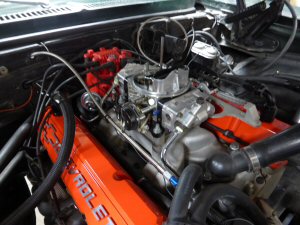 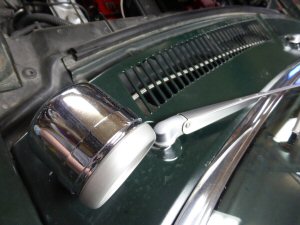 |
|
Grab a carb cap and cover up the carburetor. Remove and place it on the workbench where I can drain the gas out of it.
Wrapped up old throttle bracket and cables, so they don't scratch my beautiful valve covers. 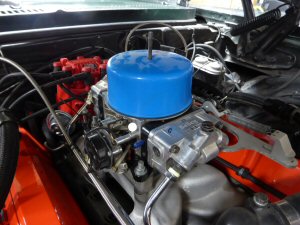 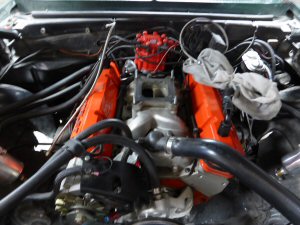  |
Need to keep the 1 inch spacer, as it allows the carburetor to clear my vacuum port on the intake used for the transmission modulator valve.
 |
Took a few more minutes to watch the Holley Sniper EFI Installation video again . Reviewed all the different wiring diagrams, as well as the modifications needed for the fuel tank.
   |
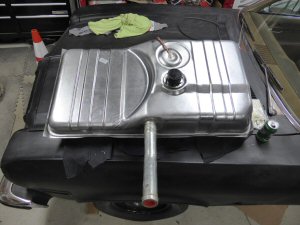
Seeing how I have to drill into the gas tank to add a bung for a return line and from the Sniper unit, it didn't make sense to me to be using the original tank. Ordered up a new Gas Tank as well as a new Sending Unit.
   |
|
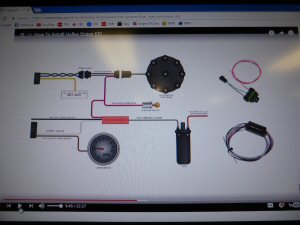
Instructions tell us to install the 'Return Bung' on the top corner on the tank, along with the plastic hose on the inside to allow to fuel to flow into the base of the tank. This method will minimize the amount of fuel foam that would occur instead of it pouring down from the top.
Accessing the top of the tank to weld a bung on for the return line is NOT possible, instead we chose to use the top left corner on the side. 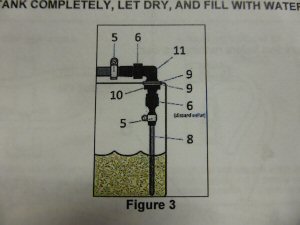 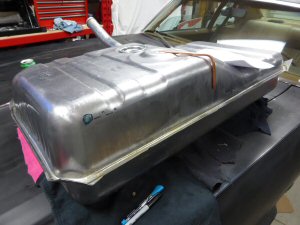 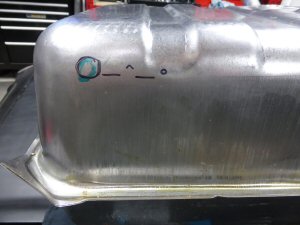 |
|
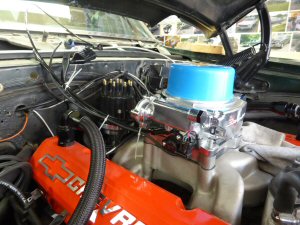
Did a 'quick' Test Fit of the Sniper EFI unit on the intake. Man, that's pretty sharp looking!!
Just out of curiousity, I wonder if I would be able to continue to use my original Throttle Bracket with the Sniper, but it would not clear the unit. Not a problem, as the Sniper Unit does come with it's own Throttle Bracket. I was happy about going with the 'Sniper Throttle Bracket' as it allowed me to go back to using a stock accelerator cable as oppose to the Lokar custom throttle cable I was using with my old bracket. 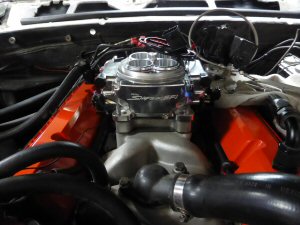 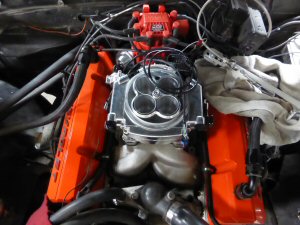 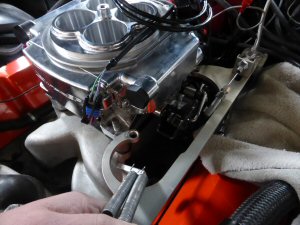 |
|
Derek and Shelly are over to help out, keeping me focused on the task at hand. We continue to read and review the instructions while stepping through the install.
Got to the 'Wiring' section of the manuals, selected our setup and start to wire things up. 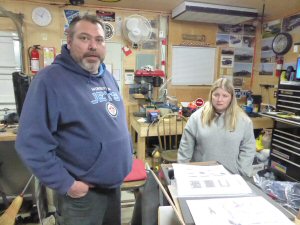 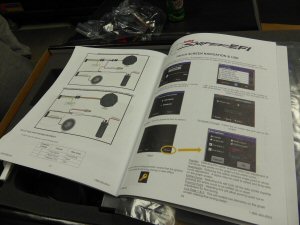 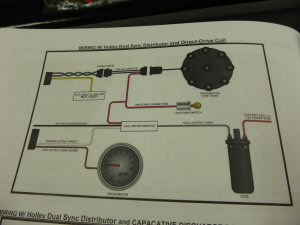 |
|
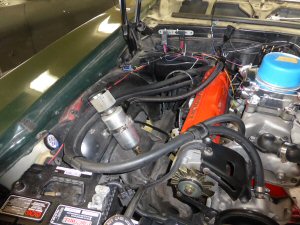
We purchased the 'Holley Dual Sync Distributor' which will work with our Sniper EFI system, and allow the Sniper to control ignition timing.
Here we are dropping the distributor, installing it into the engine. VERY IMPORTANT to rewatch/review the Holley 'Dual Sync' Distributor Installation video again, as there is a method how to set it up and properly lock it down.  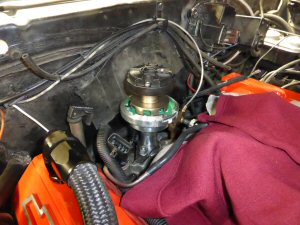 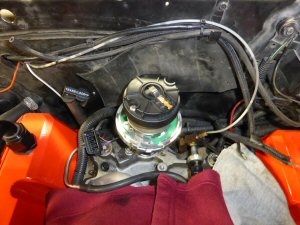 |
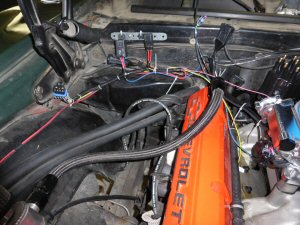
Have the garage door open for some natural line, pull out the main wiring harness (Part #558-490) and lay it out and figure out how to run this mess of wiring.
 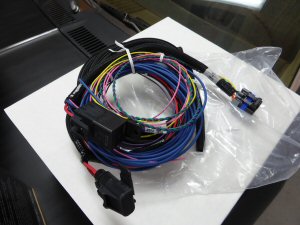  |
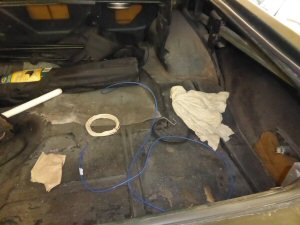
The MAIN harness is laid out in the engine bay, including running leads to the battery which will be hidden inside the passenger fender. The other end of the harness is connects to the sniper. There is some other wires which will be fed through the heater motor hole and hidden inside the passenger area up and behind the glove box.
   |
|
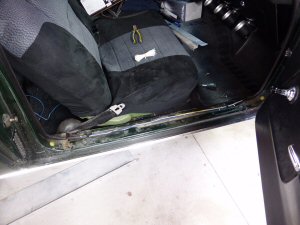
There is a 12v power lead that needs to be run the length of the car to the fuel pump which we are installing infront of the factory gas tank.
Feeding the wire through the side kick panel, along the wiring channel along the passenger side of the car and through the backseat area to the trunk area. 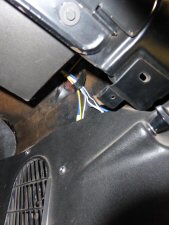 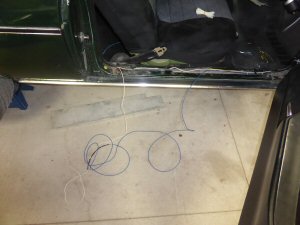 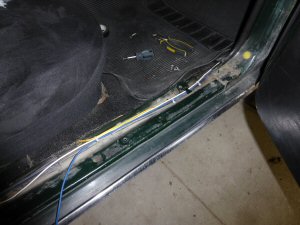
   |
|
|
|
 Main 'Project MEANGREEN' Page Main 'Project MEANGREEN' Page |
|---|
| Back to Photo Gallery - 2017 |
|---|
| Main Page |
|---|